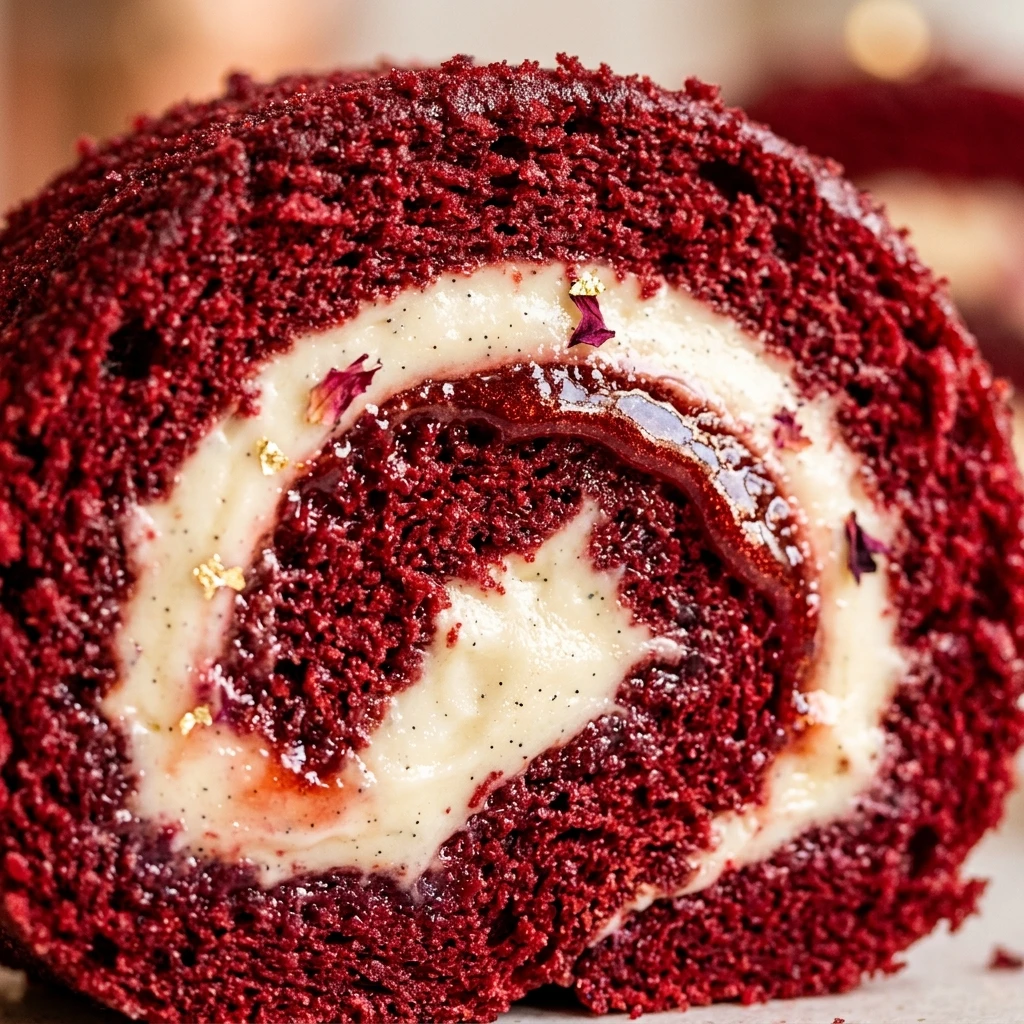
If you want to stop the show at your next Halloween party or gothic-themed dinner, the Blood Velvet Cake Roll is your secret weapon. This isn’t just a standard red velvet cake; it features a deep, dramatic crimson hue and a velvety crumb that melts in your mouth. Rolling a cake might seem intimidating, but this recipe yields a flexible, moist sponge that handles beautifully. Paired with a tangy, stark white cream cheese frosting, the visual contrast is as striking as the flavor is delicious. Get ready to master the art of the cake roll and serve a dessert that looks like a masterpiece and tastes like a dream.
Recipe Information
- Prep Time: 25 minutes
- Cook Time: 12 minutes
- Total Time: 37 minutes
- Servings: 10 servings
- Difficulty: Medium
Nutrition values
- Calories: 315 kcal
- Protein: 4g
- Carbs: 42g
Why Make This Blood Velvet Cake Roll
This cake is the ultimate combination of drama and flavor. Unlike a traditional layered cake, the roll provides a perfect spiral of frosting in every single bite. The “blood” velvet variation uses a touch more cocoa and a specific deep red gel coloring to achieve a sophisticated, darker shade than typical bright red cakes. It is surprisingly quick to bake, taking only about 12 minutes in the oven. Plus, it is an excellent make-ahead dessert because the flavors actually improve after a few hours in the refrigerator. Whether it is for a spooky celebration or a romantic Valentine’s Day treat, this cake always leaves a lasting impression.
Ingredients
For the Cake:
- 3/4 cup all-purpose flour
- 1/4 cup unsweetened cocoa powder (natural, not Dutch-processed)
- 1 teaspoon baking powder
- 1/2 teaspoon salt
- 4 large eggs, room temperature
- 3/4 cup granulated sugar
- 1 tablespoon vegetable oil
- 2 tablespoons buttermilk
- 1 teaspoon white vinegar
- 1 teaspoon vanilla extract
- 1-2 teaspoons deep red or burgundy gel food coloring
- Powdered sugar (for dusting the towel)
For the Cream Cheese Filling:
- 8 oz cream cheese, softened
- 4 tablespoons unsalted butter, softened
- 1 1/2 cups powdered sugar
- 1 teaspoon vanilla extract
Directions
Step 1: Preparation
Preheat your oven to 350°F (175°C). Grease a 10×15 inch jelly roll pan and line it with parchment paper. Leave an extra inch of parchment hanging over the ends to make removal easy. Grease the top of the parchment paper as well to ensure the cake doesn’t stick.
Step 2: Whisk Dry Ingredients
In a medium bowl, sift together the flour, cocoa powder, baking powder, and salt. Sifting is crucial here to remove any cocoa lumps and ensure the sponge stays light and airy.
Step 3: Beat the Eggs and Sugar
In a large mixing bowl, beat the four eggs at high speed for about 5 minutes. The eggs should become thick, pale, and double in volume. Gradually stream in the granulated sugar while continuing to beat. This aeration is what gives the cake its structure without making it heavy.
Step 4: Incorporate Wet Ingredients
Lower the mixer speed and add the vegetable oil, buttermilk, vinegar, vanilla extract, and the red gel food coloring. Mix until the color is uniform. Aim for a deep, dark red shade; remember the color will lighten slightly as it mixes with the dry ingredients.
Step 5: Fold and Bake
Gently fold the dry ingredients into the wet mixture using a spatula. Work slowly to keep the air in the eggs. Pour the batter into the prepared pan and spread it evenly into the corners. Bake for 10 to 12 minutes, or until the top of the cake springs back when lightly touched.
Step 6: The Hot Roll
While the cake bakes, lay a clean kitchen towel on the counter and dust it generously with powdered sugar. As soon as the cake comes out of the oven, turn it over onto the towel. Carefully peel off the parchment paper. Starting from the short end, roll the warm cake and the towel together. Let it cool completely in this rolled position to “set” the memory of the shape.
Step 7: Prepare the Filling
In a clean bowl, beat the softened cream cheese and butter together until smooth. Add the powdered sugar and vanilla extract, beating until the frosting is light and fluffy. If it feels too soft, chill it in the fridge for 10 minutes before spreading.
Step 8: Fill and Final Chill
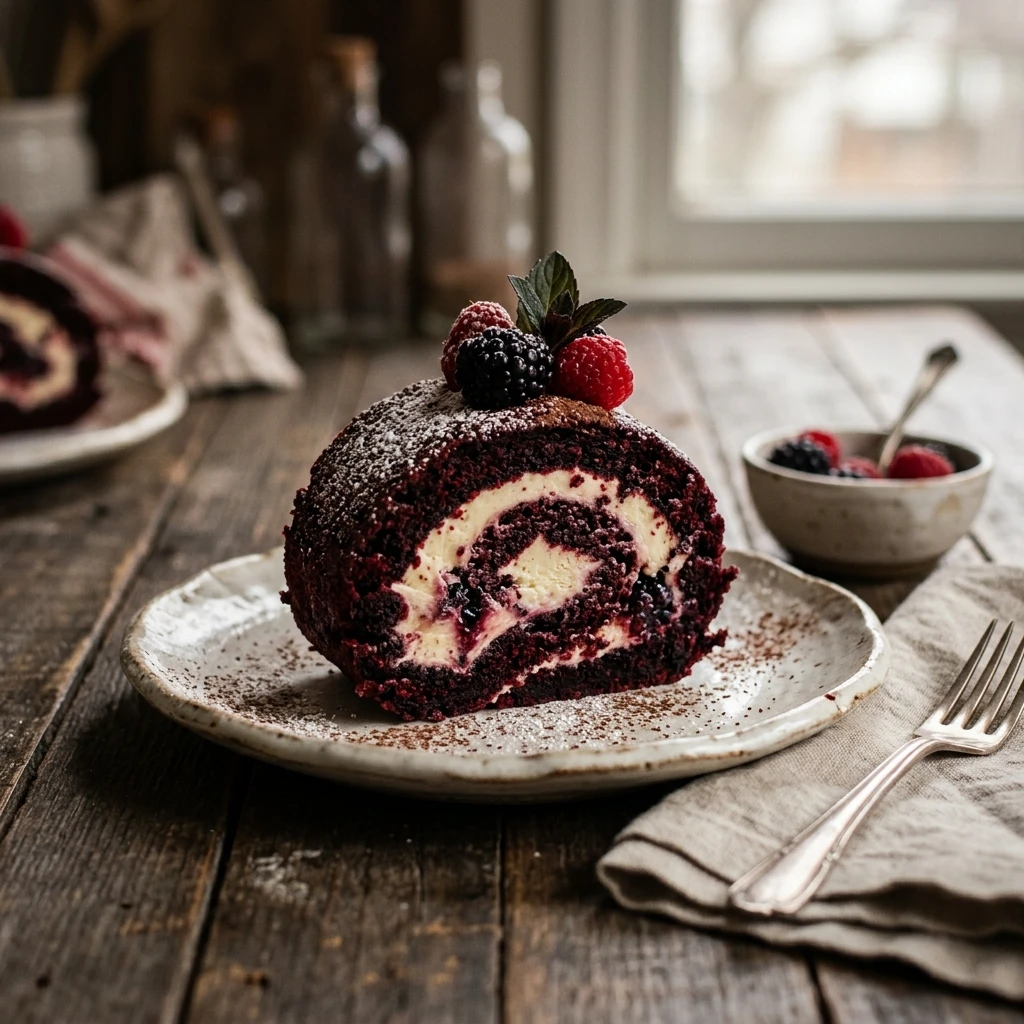
Once the cake is completely cool, gently unroll it. Spread the cream cheese filling evenly over the surface, leaving a small border at the edges. Roll the cake back up (without the towel this time). Wrap the roll tightly in plastic wrap and refrigerate for at least one hour before slicing. This helps the filling set and makes for clean cuts.
Expert Tips for Perfect Blood Velvet Cake Roll
Always use room temperature eggs; they whip up to a much higher volume than cold eggs. When it comes to coloring, use gel paste rather than liquid food coloring. Gel provides a more intense “blood” red without thinning out the batter. The most critical tip is to roll the cake while it is steaming hot. If the cake cools before you roll it, it will crack. Finally, use a serrated knife and wipe it clean between every slice to maintain those beautiful, sharp spirals.
Delicious Variations
- Black Forest Twist: Add a layer of cherry preserves over the cream cheese filling before rolling for a “bleeding” effect.
- Chocolate Ganache Drip: Pour a dark chocolate ganache over the finished roll for a more decadent look.
- Black Velvet: Swap the red coloring for black food coloring and use dark cocoa powder for a “charcoal” version.
- White Chocolate Filling: Fold melted white chocolate into the cream cheese frosting for extra richness.
Frequently Asked Questions
How do I prevent my cake roll from cracking?
Cracking usually happens if the cake is overbaked or if it isn’t rolled while hot. Make sure to pull the cake out as soon as it springs back, and have your powdered-sugar-dusted towel ready the moment the timer goes off.
Can I use liquid food coloring instead of gel?
You can, but you will need a lot more of it to achieve the deep blood-red color. This can sometimes add a metallic taste or change the consistency of the batter, so gel is highly recommended.
How long does this cake stay fresh?
The Blood Velvet Cake Roll stays moist and delicious for about 3 to 4 days when stored in an airtight container in the refrigerator.
Can I freeze the cake roll?
Yes! You can freeze the finished, wrapped roll for up to 2 months. Thaw it in the refrigerator overnight before serving.
What is the purpose of vinegar and buttermilk?
The acid in the vinegar and buttermilk reacts with the cocoa powder to bring out its natural reddish tints and creates a very tender, “velvety” crumb structure.
Conclusion
The Blood Velvet Cake Roll is a spectacular dessert that balances sophisticated flavors with a dramatic flair. While it requires a bit of patience during the rolling process, the result is a professional-looking treat that is sure to be the centerpiece of any table. Its moist texture and tangy frosting make it a crowd-favorite every time. Give this recipe a try, and enjoy the delicious, velvety goodness of a perfectly executed cake roll!
Blood Velvet Cake Roll
- Total Time: 37 minutes
- Diet: Vegetarian
Ingredients
- 3/4 cup all-purpose flour
- 1/4 cup unsweetened cocoa powder (natural, not Dutch-processed)
- 1 teaspoon baking powder
- 1/2 teaspoon salt
- 4 large eggs, room temperature
- 3/4 cup granulated sugar
- 1 tablespoon vegetable oil
- 2 tablespoons buttermilk
- 1 teaspoon white vinegar
- 1 teaspoon vanilla extract
- 1–2 teaspoons deep red or burgundy gel food coloring
- Powdered sugar (for dusting the towel)
- 8 oz cream cheese, softened
- 4 tablespoons unsalted butter, softened
- 1 1/2 cups powdered sugar
- 1 teaspoon vanilla extract
Instructions
- Preheat your oven to 350°F (175°C). Grease a 10×15 inch jelly roll pan and line it with parchment paper. Leave an extra inch of parchment hanging over the ends to make removal easy. Grease the top of the parchment paper as well to ensure the cake doesn’t stick.
- In a medium bowl, sift together the flour, cocoa powder, baking powder, and salt. Sifting is crucial here to remove any cocoa lumps and ensure the sponge stays light and airy.
- In a large mixing bowl, beat the four eggs at high speed for about 5 minutes. The eggs should become thick, pale, and double in volume. Gradually stream in the granulated sugar while continuing to beat. This aeration is what gives the cake its structure without making it heavy.
- Lower the mixer speed and add the vegetable oil, buttermilk, vinegar, vanilla extract, and the red gel food coloring. Mix until the color is uniform. Aim for a deep, dark red shade; remember the color will lighten slightly as it mixes with the dry ingredients.
- Gently fold the dry ingredients into the wet mixture using a spatula. Work slowly to keep the air in the eggs. Pour the batter into the prepared pan and spread it evenly into the corners. Bake for 10 to 12 minutes, or until the top of the cake springs back when lightly touched.
- While the cake bakes, lay a clean kitchen towel on the counter and dust it generously with powdered sugar. As soon as the cake comes out of the oven, turn it over onto the towel. Carefully peel off the parchment paper. Starting from the short end, roll the warm cake and the towel together. Let it cool completely in this rolled position to “set” the memory of the shape.
- In a clean bowl, beat the softened cream cheese and butter together until smooth. Add the powdered sugar and vanilla extract, beating until the frosting is light and fluffy. If it feels too soft, chill it in the fridge for 10 minutes before spreading.
- Once the cake is completely cool, gently unroll it. Spread the cream cheese filling evenly over the surface, leaving a small border at the edges. Roll the cake back up (without the towel this time). Wrap the roll tightly in plastic wrap and refrigerate for at least one hour before slicing. This helps the filling set and makes for clean cuts.
- Cook Time: 37 minutes