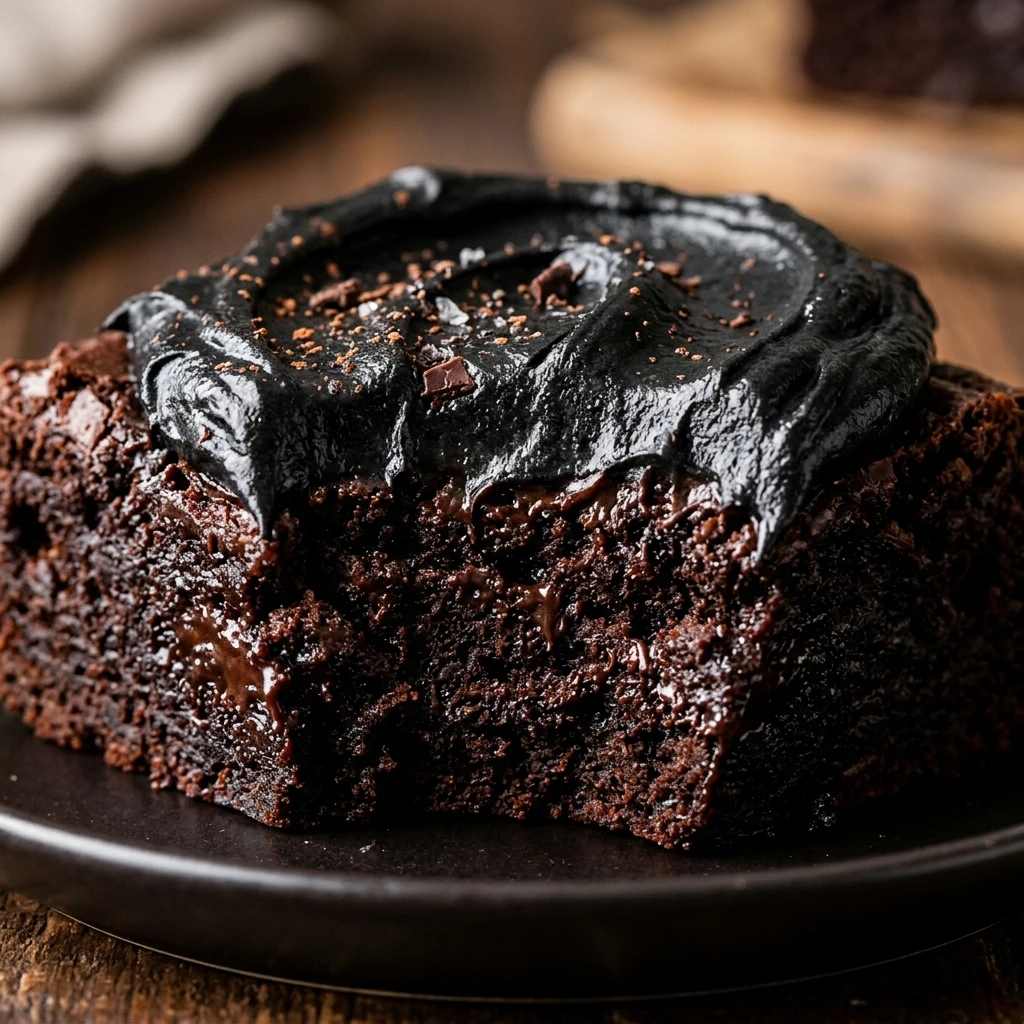
Forget everything you know about basic chocolate treats. These Black Velvet Brownies are the ultimate showstopper for anyone who loves deep, dark cocoa and a decadently fudgy texture. Unlike traditional brownies that lean toward a reddish-brown hue, these are strikingly jet-black, thanks to the magic of black cocoa powder. They offer a sophisticated, intense flavor profile that isn’t overly sweet but feels incredibly indulgent. Whether you are hosting a moody dinner party, a Halloween bash, or just want to impress your fellow chocolate lovers, this recipe delivers a gourmet experience with minimal effort.
Recipe Information
- Prep Time: 15 minutes
- Cook Time: 25 minutes
- Total Time: 40 minutes
- Servings: 16 brownies
- Difficulty: Easy
Nutrition values
- Calories: 245 kcal
- Protein: 3g
- Carbs: 32g
Why Make This Black Velvet Brownies
These brownies stand out because of their unique aesthetic and complex flavor. The use of black cocoa powder—the same ingredient used to make famous chocolate sandwich cookies—gives them an “ultra-dark” look without needing artificial food coloring. They have a tighter, fudgier crumb than standard brownies, making them feel like a cross between a truffle and a cake. They are also incredibly easy to whip up in a single bowl, meaning you get a high-end dessert without a massive cleanup. Plus, the deep cocoa notes pair perfectly with a glass of red wine or a scoop of bright white vanilla bean ice cream for a stunning visual contrast.
Ingredients
- 1 cup (225g) unsalted butter, melted and slightly cooled
- 2 cups (400g) granulated sugar
- 4 large eggs, room temperature
- 1 tablespoon vanilla extract
- 3/4 cup (75g) premium black cocoa powder
- 1 cup (125g) all-purpose flour
- 1/2 teaspoon salt
- 1 cup (170g) dark or semi-sweet chocolate chips (optional)
- Flaky sea salt for garnish
Directions
Step 1: Prep the Oven and Pan
Preheat your oven to 350°F (175°C). Line an 8×8-inch square baking pan with parchment paper, leaving an overhang on the sides. This “sling” allows you to lift the brownies out easily once they are cool. Lightly grease the parchment with butter or non-stick spray for extra security.
Step 2: Cream the Butter and Sugar
In a large mixing bowl, whisk together the melted butter and granulated sugar. Beat them vigorously for about two minutes. This process helps dissolve the sugar, which creates that coveted shiny, crackly top on your finished brownies.
Step 3: Add Liquid Ingredients
Add the four eggs one at a time, whisking well after each addition. Pour in the vanilla extract. Continue to whisk until the mixture looks pale and slightly thickened. Using room temperature eggs ensures the batter emulsifies perfectly without curdling the melted butter.
Step 4: Incorporate Dry Ingredients
Sift the black cocoa powder, all-purpose flour, and salt into the wet ingredients. Using a rubber spatula, gently fold the dry ingredients into the batter. Stop as soon as you see no more streaks of white flour. Overmixing at this stage will make the brownies tough rather than fudgy. If you are using chocolate chips, fold them in now.
Step 5: Bake and Cool
Pour the batter into your prepared baking pan and smooth the top with a spatula. Bake for 22 to 25 minutes. A toothpick inserted into the center should come out with a few moist crumbs attached. Do not overbake! Remove from the oven and sprinkle with flaky sea salt. Let the brownies cool completely in the pan before slicing to ensure the center sets perfectly.
Expert Tips for Perfect Black Velvet Brownies
To achieve the best results, always use high-quality black cocoa powder rather than Dutch-processed or natural cocoa. Black cocoa is heavily alkalized, which provides that specific “Oreo-like” flavor and midnight color. For the cleanest cuts, refrigerate the brownies for an hour after they reach room temperature. Use a sharp chef’s knife and wipe it clean with a warm, damp cloth between every single slice. Finally, pay close attention to your oven; even two extra minutes can turn a fudgy brownie into a dry one.
Delicious Variations
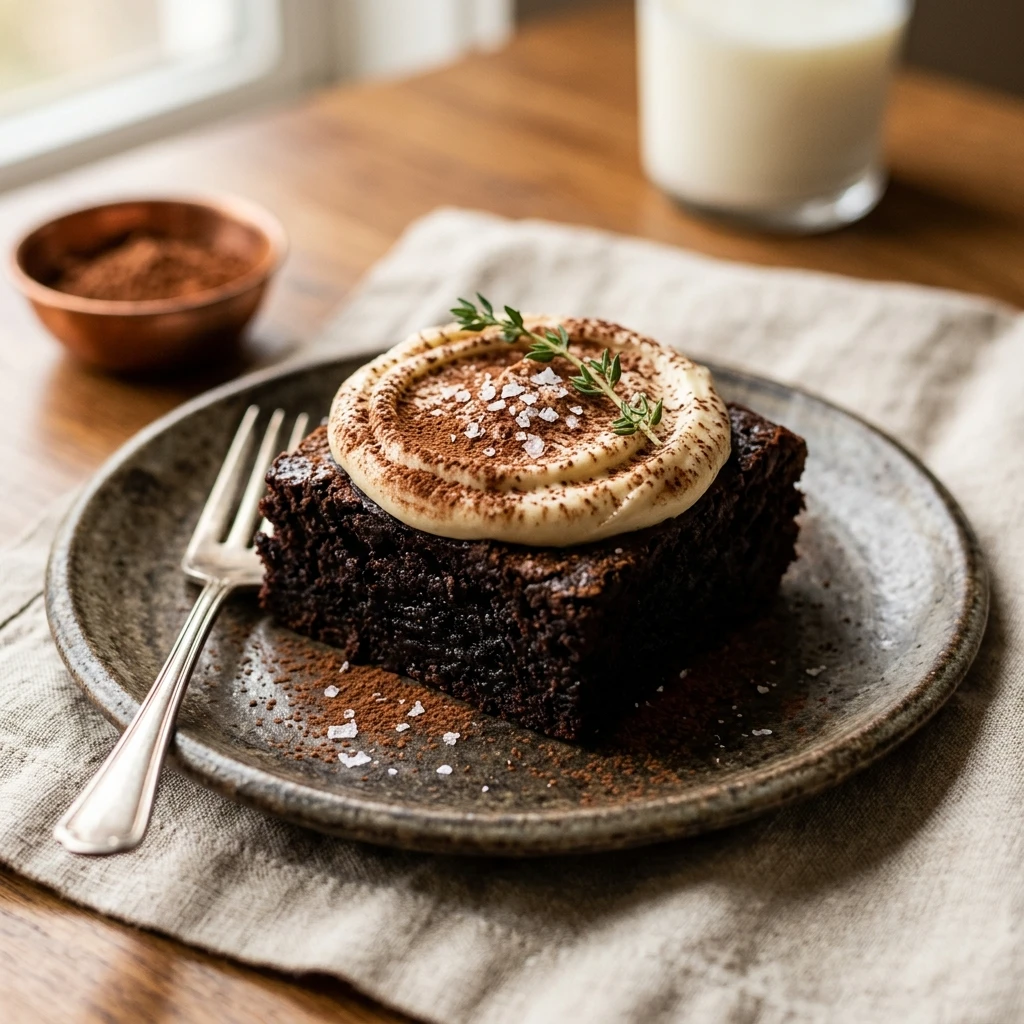
You can easily customize these brownies to suit your taste. Try swirling in 4 ounces of sweetened cream cheese before baking for a “Black and White” marbled effect. If you love a caffeine kick, add one tablespoon of espresso powder to the dry ingredients to intensify the chocolate flavor. You can also swap the dark chocolate chips for white chocolate chips to create a striking color contrast inside the brownie. For a festive touch, top them with crushed peppermint during the holidays or orange sprinkles for Halloween.
Frequently Asked Questions
What exactly is black cocoa powder?
Black cocoa is a cocoa powder that has been heavily dutched (alkalized). This process neutralizes the acidity of the cocoa, resulting in an extremely dark color and a mellow, smooth chocolate flavor that is less bitter than standard dark cocoa.
Can I use regular cocoa powder instead?
Yes, you can substitute regular Dutch-processed cocoa powder, but the brownies will be brown instead of black and will have a different flavor profile. Natural cocoa powder is not recommended as it is too acidic for this specific recipe structure.
How do I store these brownies?
Store them in an airtight container at room temperature for up to 3 days. For longer storage, keep them in the refrigerator for up to a week; they actually taste amazing when eaten cold!
Can I freeze black velvet brownies?
Absolutely. Wrap individual squares tightly in plastic wrap and place them in a freezer-safe bag. They will stay fresh for up to 3 months. Thaw at room temperature for about an hour before eating.
Why are my brownies cakey instead of fudgy?
Cakey brownies usually happen because of over-measuring the flour or over-beating the eggs. Make sure to spoon and level your flour rather than scooping it directly with the measuring cup to avoid using too much.
Conclusion
Black Velvet Brownies are the perfect marriage of dramatic flair and comforting chocolate goodness. Their deep, dark appearance makes them an instant conversation starter, while their rich, fudgy center keeps everyone coming back for seconds. By following these simple steps and using quality black cocoa, you can create a bakery-level dessert right in your own kitchen. Bake a batch today and experience the dark side of decadence!
Black Velvet Brownies
- Total Time: 40 minutes
- Diet: Vegetarian
Ingredients
- 1 cup (225g) unsalted butter, melted and slightly cooled
- 2 cups (400g) granulated sugar
- 4 large eggs, room temperature
- 1 tablespoon vanilla extract
- 3/4 cup (75g) premium black cocoa powder
- 1 cup (125g) all-purpose flour
- 1/2 teaspoon salt
- 1 cup (170g) dark or semi-sweet chocolate chips (optional)
- Flaky sea salt for garnish
Instructions
- Step 1: Prep the Oven and Pan Preheat your oven to 350°F (175°C). Line an 8×8-inch square baking pan with parchment paper, leaving an overhang on the sides. This “sling” allows you to lift the brownies out easily once they are cool. Lightly grease the parchment with butter or non-stick spray for extra security.
- Step 2: Cream the Butter and Sugar In a large mixing bowl, whisk together the melted butter and granulated sugar. Beat them vigorously for about two minutes. This process helps dissolve the sugar, which creates that coveted shiny, crackly top on your finished brownies.
- Step 3: Add Liquid Ingredients Add the four eggs one at a time, whisking well after each addition. Pour in the vanilla extract. Continue to whisk until the mixture looks pale and slightly thickened. Using room temperature eggs ensures the batter emulsifies perfectly without curdling the melted butter.
- Step 4: Incorporate Dry Ingredients Sift the black cocoa powder, all-purpose flour, and salt into the wet ingredients. Using a rubber spatula, gently fold the dry ingredients into the batter. Stop as soon as you see no more streaks of white flour. Overmixing at this stage will make the brownies tough rather than fudgy. If you are using chocolate chips, fold them in now.
- Step 5: Bake and Cool Pour the batter into your prepared baking pan and smooth the top with a spatula. Bake for 22 to 25 minutes. A toothpick inserted into the center should come out with a few moist crumbs attached. Do not overbake! Remove from the oven and sprinkle with flaky sea salt. Let the brownies cool completely in the pan before slicing to ensure the center sets perfectly.
- Cook Time: 40 minutes