Recipe Information
- Prep Time: 20 minutes
- Cook Time: 30-35 minutes
- Total Time: 50-55 minutes
- Servings: 8
- Difficulty Level: Easy
Nutrition Information
- Calories per serving: 350
- Protein: 5g
- Carbohydrates: 50g
- Fat: 15g
- Fiber: 1g
- Sugar: 30g
- Sodium: 200mg
Why Make This Birthday Cake
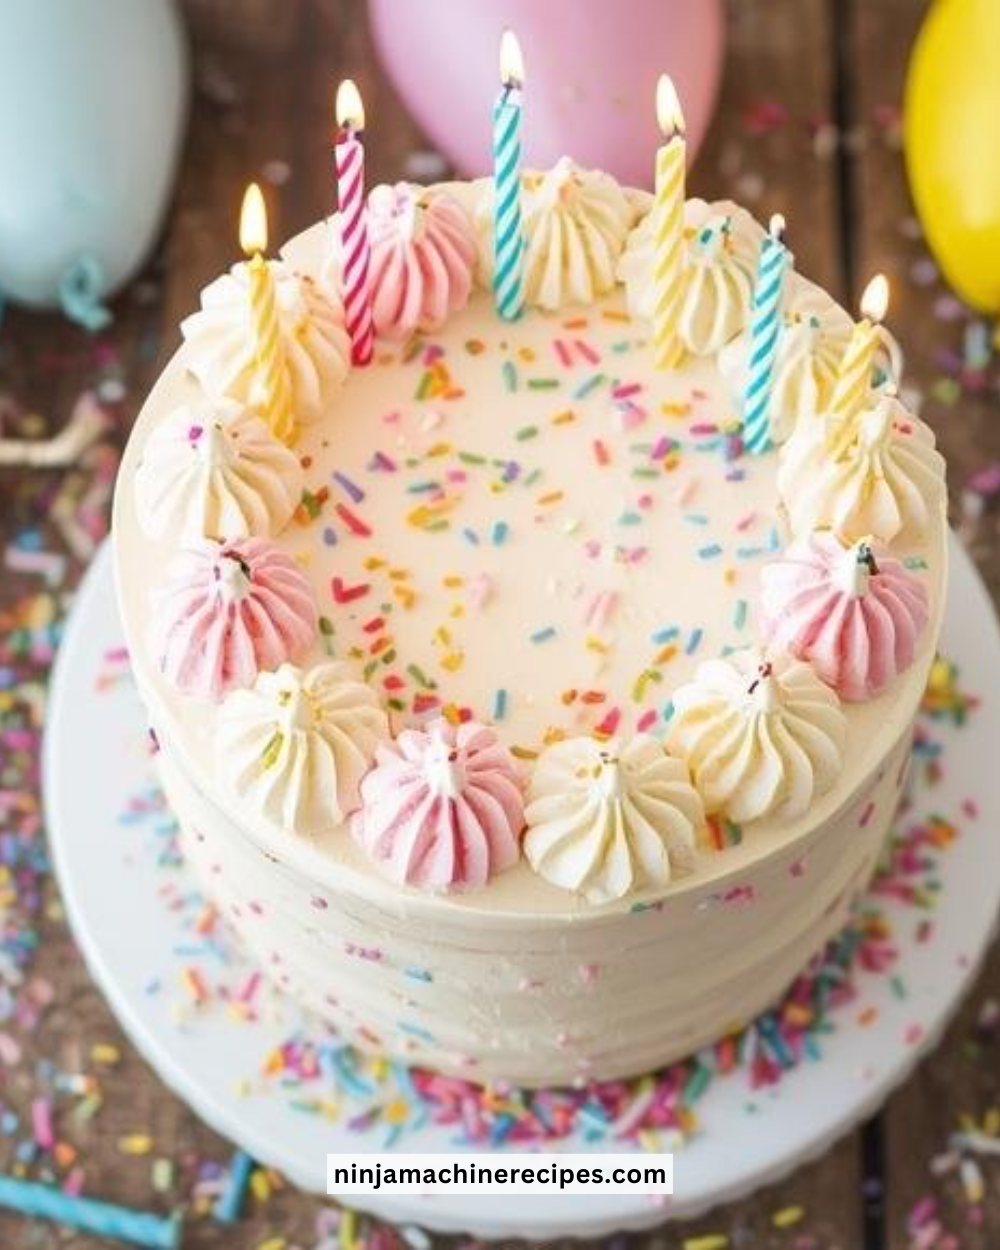
A birthday cake isn’t just a dessert; it’s a celebration centerpiece that brings people together. This homemade birthday cake is fluffy, moist, and layered with sweetness that everyone loves. It’s perfect for birthdays, anniversaries, and any special occasion where you want to indulge your guests while creating memorable moments. The flavors are classic, the texture is delightfully soft, and decorating it is a joyful art that adds a personal touch to your celebrations.
How to Make Birthday Cake
Making this birthday cake is a straightforward process that anyone can master. Follow these simple steps to create a delightful dessert that will impress friends and family alike!
Ingredients:
- 2 cups all-purpose flour
- 1 1/2 cups sugar
- 1/2 cup unsalted butter
- 1 cup milk
- 3 1/2 teaspoons baking powder
- 1 teaspoon vanilla extract
- 1/2 teaspoon salt
- 3 large eggs
- Frosting of your choice
Directions:
-
Step 1: Preparation
Preheat your oven to 350°F (175°C). Grease and flour two 9-inch round cake pans to ensure your cake comes out easily after baking.
-
Step 2: Mixing
In a mixing bowl, cream together the unsalted butter and sugar until the mixture is light and fluffy. This step incorporates air into the batter, giving your cake a lovely rise.
-
Step 3: Incorporating Eggs
Add the eggs one at a time, mixing well after each addition to ensure they are evenly blended into the batter. This provides structure and richness to your cake.
-
Step 4: Adding Flavor
Stir in the vanilla extract for that fragrant flavor. Vanilla enhances the sweetness and adds a warm aroma to your cake.
-
Step 5: Combining Dry Ingredients
In another bowl, combine the all-purpose flour, baking powder, and salt. Mixing these dry ingredients separately helps distribute the leavening agent evenly.
-
Step 6: Merging Wet and Dry
Gradually add the dry mixture to the wet ingredients, alternating with the milk. This creates a smooth batter. Mix until just combined; overmixing can lead to a dense cake.
-
Step 7: Baking
Pour the batter evenly into the prepared cake pans. Bake in the preheated oven for 30-35 minutes, or until a toothpick inserted into the center comes out clean.
-
Step 8: Cooling
Allow the cakes to cool in the pans for 10 minutes. Then,. turn them out onto a wire rack to cool completely. Proper cooling helps prevent the frosting from melting.
-
Step 9: Frosting
Once cooled, generously frost with your favorite frosting and decorate as desired. Whether you choose buttercream, cream cheese, or a simple glaze, make it your own!
How to Serve Birthday Cake
Serve your birthday cake at room temperature for the best flavor. Pair it with a scoop of vanilla ice cream for a delightful dessert experience. Perfect for birthday parties, simply slice and enjoy the smiles that follow as guests delight in each bite.
How to Store Birthday Cake
Store leftover birthday cake in an airtight container at room temperature for up to three days. If you need to keep it longer, you can refrigerate it for up to a week. For longer storage, consider freezing slices in plastic wrap followed by aluminum foil for up to three months. When ready to enjoy, let it thaw slowly in the refrigerator overnight.
Expert Tips for Perfect Birthday Cake
- Eggs: Use room temperature eggs for a better emulsion of the batter.
- Frosting: Consider chilling your frosting for a firmer texture when spreading.
- Flavor Variations: Experiment with lemon zest or almond extract for different flavor profiles.
- Decorating: Fresh fruit, sprinkles, or chocolate shavings can elevate your cake’s appearance and flavor.
- Bake Time: Keep an eye on the cakes towards the end of the baking time; every oven heats differently.
Delicious Variations
- Chocolate Birthday Cake: Replace half of the flour with cocoa powder for a rich chocolate flavor.
- Red Velvet Cake: Add cocoa powder and red food coloring for a festive twist.
- Carrot Cake: Fold in grated carrots, nuts, and spices for a flavorful alternative.
- Fruit Layer Cake: Add layers of fresh fruit between the cake and frosting for a fresh taste.
Frequently Asked Questions
1. Can I use self-rising flour?
Yes, you can use self-rising flour, but be sure to omit the baking powder and salt in the recipe.
2. What frosting goes best with this cake?
Classic buttercream frosting pairs beautifully, but cream cheese, chocolate ganache, or whipped cream are also excellent choices.
3. Can I bake this cake in a different pan size?
Absolutely! Adjust your baking time accordingly. Smaller pans will bake faster, while larger pans will take longer.
4. How can I make this cake gluten-free?
Substitute the all-purpose flour with a gluten-free all-purpose blend that contains xanthan gum.
5. What should I do if my cake domes during baking?
If the cake domes up, simply level the top with a serrated knife once cooled. This creates a flat base for frosting.
Conclusion
This birthday cake recipe is the perfect way to celebrate special moments with friends and family. Its delightful texture and classic flavors are sure to please everyone. With a little practice, you’ll master this cake and even create your own variations. So grab your ingredients, get baking, and enjoy the joyous occasion with a slice (or two) of homemade happiness! Happy baking!
Print
Homemade Birthday Cake
- Total Time: 55 minutes
- Yield: 8 servings 1x
- Diet: Vegetarian
Description
A fluffy and moist birthday cake, perfect for any celebration.
Ingredients
- 2 cups all-purpose flour
- 1 1/2 cups sugar
- 1/2 cup unsalted butter
- 1 cup milk
- 3 1/2 teaspoons baking powder
- 1 teaspoon vanilla extract
- 1/2 teaspoon salt
- 3 large eggs
- Frosting of your choice
Instructions
- Preheat your oven to 350°F (175°C). Grease and flour two 9-inch round cake pans.
- Cream together the unsalted butter and sugar until light and fluffy.
- Add the eggs one at a time, mixing well after each addition.
- Stir in the vanilla extract.
- In another bowl, combine flour, baking powder, and salt.
- Gradually add the dry mixture to the wet ingredients, alternating with the milk.
- Pour the batter into the prepared cake pans and bake for 30-35 minutes.
- Let the cakes cool in the pans for 10 minutes, then transfer to a wire rack to cool completely.
- Once cooled, frost with your choice of frosting and decorate as desired.
Notes
Use room temperature eggs for better emulsion. Chill frosting for a firmer texture when spreading.
- Prep Time: 20 minutes
- Cook Time: 35 minutes
- Category: Dessert
- Method: Baking
- Cuisine: American
Nutrition
- Serving Size: 1 serving
- Calories: 350
- Sugar: 30g
- Sodium: 200mg
- Fat: 15g
- Saturated Fat: 7g
- Unsaturated Fat: 6g
- Trans Fat: 0g
- Carbohydrates: 50g
- Fiber: 1g
- Protein: 5g
- Cholesterol: 50mg