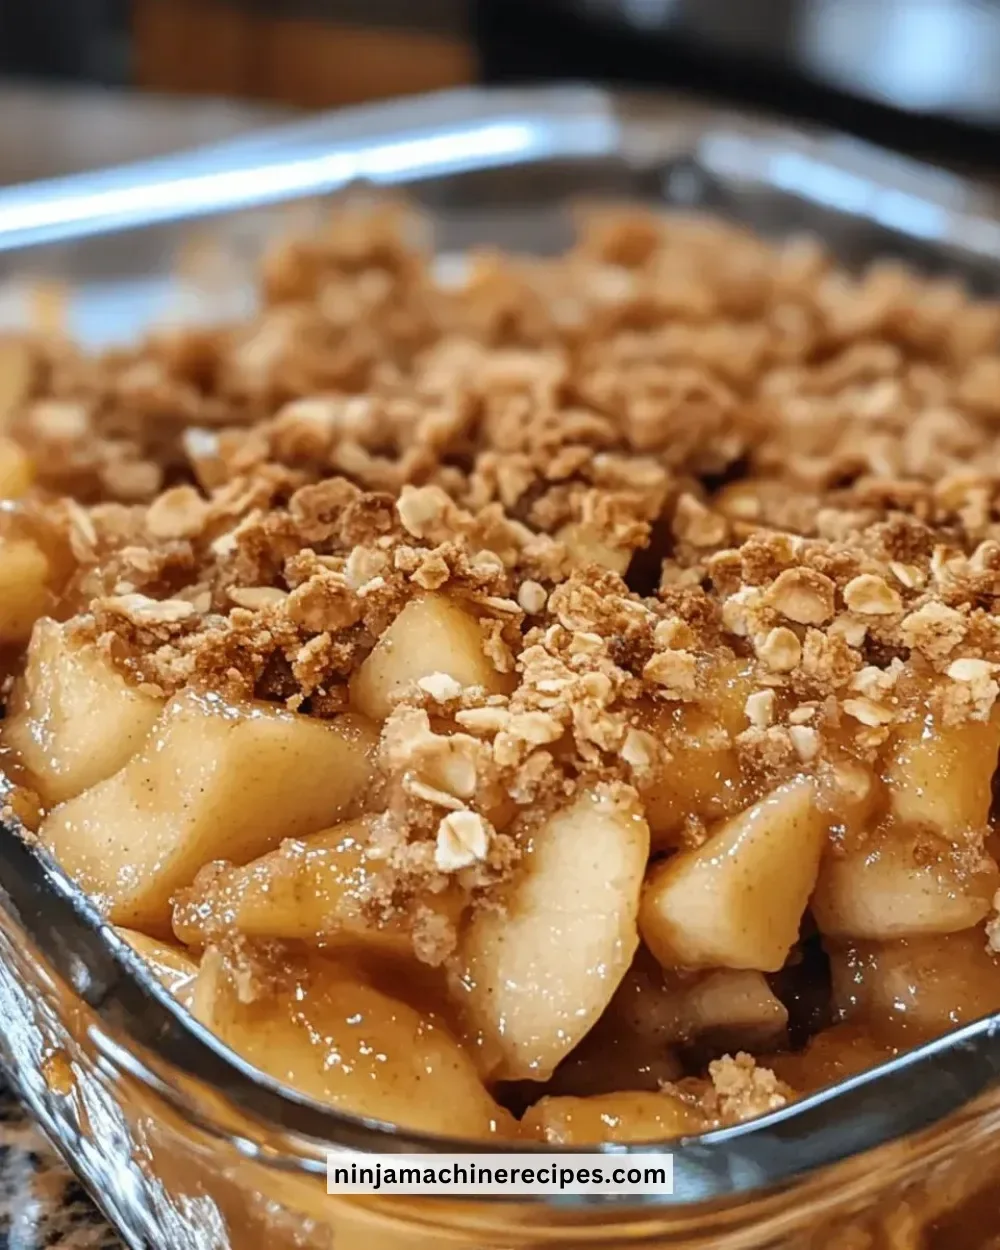
The Best Baked Apple Crisp is a warm, comforting dessert that combines tender apples with a crunchy oat topping, creating the perfect blend of textures and flavors. This dish is easy to prepare and makes an ideal fall treat or a cozy addition to any gathering. Whether you’re looking for a classic dessert after dinner or a sweet breakfast option, this apple crisp will delight your taste buds and bring smiles to the whole family.
Recipe Information
- Prep Time: 15 minutes
- Cook Time: 45 minutes
- Total Time: 1 hour
- Servings: 8 servings
- Difficulty Level: Easy
Nutrition Information
- Calories per serving: 270
- Protein: 2g
- Carbohydrates: 40g
- Fat: 12g
- Fiber: 3g
- Sugar: 20g
- Sodium: 150mg
Why Make This Best Baked Apple Crisp
There’s something undeniably special about the aroma of baked apples wafting through your kitchen. The Best Baked Apple Crisp combines sweet, tart apples with a crumbly topping that brings a satisfying crunch in every bite. It’s an easy way to present a homemade dessert that impresses everyone, yet doesn’t require advanced baking skills. Plus, it’s a great way to use up those fall apples lying around, making it both delicious and resourceful.
How to Make Best Baked Apple Crisp
Making the Best Baked Apple Crisp requires just a few simple steps. From preparing the apples to baking them to perfection, this recipe guides you through each stage. Let’s get started!
Ingredients:
- 6 cups sliced apples (such as Granny Smith or Honeycrisp)
- 1 tablespoon lemon juice
- 1 cup granulated sugar
- 1 teaspoon ground cinnamon
- 1 cup rolled oats
- 1 cup all-purpose flour
- 1/2 cup packed brown sugar
- 1/2 cup unsalted butter, softened
Directions:
-
Step 1: Preparation
Preheat your oven to 350°F (175°C). This initial step ensures that your crispy topping bakes perfectly golden and your apples soften just right.
-
Step 2: Mixing
In a large bowl, toss the sliced apples with lemon juice, granulated sugar, and cinnamon. This mixture will provide a sweet and tangy flavor as it bakes. Spread the apple mixture evenly in a greased baking dish, ensuring all apples are coated well.
-
Step 3: Cooking
In another bowl, combine the rolled oats, flour, brown sugar, and softened butter. Mix the ingredients with your hands or a fork until you achieve a crumbly texture. This topping will create that perfect crisp layer over the apples.
-
Step 4: Finishing
Sprinkle the oat mixture evenly over the apple filling. Bake in the preheated oven for 40-45 minutes, or until the apples are tender and the topping is golden brown. Once done, remove from the oven and let it cool for a few minutes before serving.
How to Serve Best Baked Apple Crisp
Serve the Best Baked Apple Crisp warm, straight from the oven. For an extra treat, add a scoop of vanilla ice cream on top. The creamy ice cream pairs perfectly with the warm, spiced apples and crunchy topping, enhancing the overall experience. It’s a crowd-pleasing dessert for family dinners, potlucks, or cozy get-togethers.
How to Store Best Baked Apple Crisp
Store any leftovers in an airtight container in the refrigerator for up to 3 days. To reheat, place it in the oven at 350°F (175°C) for about 10-15 minutes or until heated through. If you want to enjoy it beyond a few days, you can freeze the crisp before baking for up to 3 months. Just thaw it in the fridge before baking when you’re ready to serve.
Expert Tips for Perfect Best Baked Apple Crisp
- Apple Selection: Use a mix of tart and sweet apples like Granny Smith and Honeycrisp for a more complex flavor.
- Texture Preference: If you like a softer topping, cover your crisp with aluminum foil during the first half of baking. Remove the foil for the last 15 minutes for a crispy finish.
- Flavor Boost: Add a pinch of nutmeg or allspice for additional warm notes.
- Experiment with Sweeteners: Try using maple syrup or honey in place of granulated sugar for a different sweetness profile.
- Topping Variations: Consider adding chopped nuts like pecans or walnuts to the oat mixture for added crunch and flavor.
Delicious Variations
- Berry Apple Crisp: Add a cup of mixed berries to the apple mixture for a fruity twist.
- Spiced Apple Crisp: Incorporate ginger or cloves to the apple filling for a warm holiday flavor.
- Healthy Apple Crisp: Swap out half the flour with almond flour and use coconut oil instead of butter for a healthier option.
- Maple Pecan Apple Crisp: Drizzle some maple syrup over the apple filling before baking and add chopped pecans to the topping for a nutty richness.
Frequently Asked Questions
- Can I use other fruits? Absolutely! You can substitute or mix apples with pears, peaches, or even berries for a different twist.
- What type of apples work best? Tart apples like Granny Smith or sweet ones like Honeycrisp are ideal, but you can experiment with your favorites.
- Can I make it ahead of time? Yes! You can prepare the apple filling and topping separately, refrigerate, and then assemble and bake when needed.
- How do I ensure the topping stays crisp? Bake it uncovered, and consider adding a bit of extra butter to the topping mixture for added moisture balance.
- Is this recipe gluten-free? To make it gluten-free, substitute regular flour with a gluten-free blend and ensure your oats are certified gluten-free.
Conclusion
The Best Baked Apple Crisp is sure to become a beloved go-to recipe in your home. With its delightful blend of sweet and tart apples paired with a warm, crunchy topping, this dessert is an easy yet impressive way to celebrate any occasion. So go ahead and give this recipe a try, and savor the magical moment of comfort food at its finest! Enjoy the enticing aromas and the satisfied smiles as you serve up this delicious treat. Happy baking!