Here’s the complete article as per your specifications for the Easy Dreamy Oreo Cake:
Recipe Information
- Prep Time: 20 minutes
- Cook Time: 35 minutes
- Total Time: 55 minutes
- Servings: 12
- Difficulty Level: Easy
Nutrition Information
- Calories per serving: 450
- Protein: 3g
- Carbohydrates: 63g
- Fat: 21g
- Fiber: 1g
- Sugar: 38g
- Sodium: 258mg
Why Make This Easy Dreamy Oreo Cake
Imagine a cake that captures the beloved flavors of Oreos, rich chocolate, and fluffy marshmallow. The Easy Dreamy Oreo Cake is not just a dessert; it’s an experience! Perfectly moist, with a creamy frosting that’s flecked with crunchy Oreo bits, this cake brings joy to any occasion, whether it’s a birthday, a celebration, or simply a treat for yourself. Its delightful combination of textures and flavors will dazzle your taste buds and impress your friends and family.
How to Make Easy Dreamy Oreo Cake
Step 1: Preparation
Preheat your oven to 350°F (175°C). While the oven is warming up, take two 8 to 9-inch cake pans, grease them well, and line the bottoms with parchment paper for easy cake removal later on.
Step 2: Mixing Dry Ingredients
In a large mixing bowl, whisk together 3 cups of all-purpose flour, 2 cups of granulated sugar, 1/2 cup of unsweetened dark cocoa powder, 2 teaspoons of baking soda, and 1 teaspoon of salt. This creates a beautiful dry mixture that lays the foundation for a rich chocolate cake.
Step 3: Mixing Wet Ingredients
In another bowl, combine 1 1/2 cups of hot water, 1/2 cup of hot coffee, 3/4 cup of vegetable oil, 2 tablespoons of white vinegar, and 1 teaspoon of vanilla extract. The warmth from the water and coffee will help marry the flavors and ensure a moist cake.
Step 4: Combining Ingredients
Pour the wet mixture into the bowl with the dry ingredients. Stir until completely smooth. The batter will be thin, but don’t worry—it’s supposed to be that way! Divide the batter evenly between the two prepared cake pans.
Step 5: Baking the Cake
Place the pans in the oven and bake for 34 to 38 minutes, or until a toothpick inserted into the center comes out clean. Once baked, remove the cakes from the oven and let them cool completely in the pans before transferring them to a wire rack.
Step 6: Making the Frosting
In a mixing bowl, beat together 1/2 cup of softened unsalted butter and 1/2 cup of vegetable shortening until creamy. Add in a jar of marshmallow fluff, mixing until smooth. Gradually incorporate 3 cups of powdered sugar, 1/2 to 1 teaspoon of salt (to taste), 1 teaspoon of vanilla extract, and 1 to 2 tablespoons of heavy whipping cream. Beat until light and fluffy.
Step 7: Assembling and Frosting the Cake
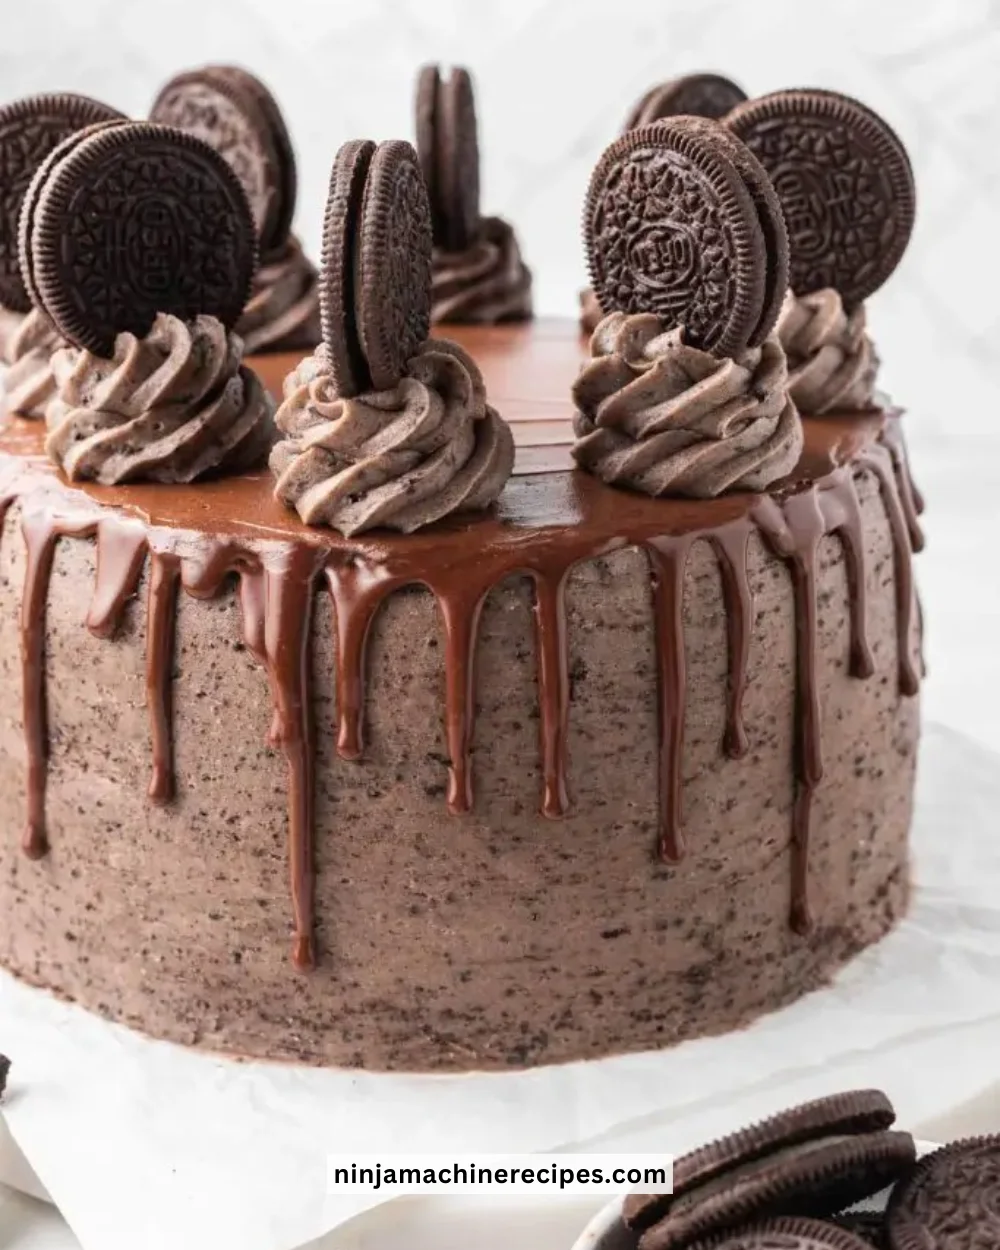
Take one cooled cake layer and spread a generous amount of frosting on top. Sprinkle crushed Oreos over the frosting for added flavor and crunch. Place the second cake layer on top and repeat the frosting and Oreo layering. Don’t forget to add additional crushed Oreos on top for a beautiful finish.
How to Serve Easy Dreamy Oreo Cake
Slice the cake into generous pieces and serve on individual plates. This cake pairs wonderfully with a scoop of vanilla ice cream, hot coffee, or a glass of cold milk. It’s also perfect for festive celebrations or as a delightful surprise for a loved one.
How to Store Easy Dreamy Oreo Cake
Keep leftover cake covered in the refrigerator for up to 5 days. You can also freeze the cake by wrapping it tightly in plastic wrap and then aluminum foil. It should stay fresh for up to 3 months. Just let it thaw at room temperature before serving.
Expert Tips for Perfect Easy Dreamy Oreo Cake
- Use Room Temperature Ingredients: For the best mixing, ensure your butter and eggs are at room temperature before you start.
- Don’t Overmix: When combining wet and dry ingredients, mix until just combined to keep your cake light and fluffy.
- Check for Doneness Early: Ovens can vary, so start checking your cake a few minutes earlier than the minimum baking time.
- Chill Your Cake Layers: Let the cakes cool completely before frosting to prevent melting your delicious frosting.
- Customization: Add in some mini chocolate chips or additional Oreo crumbs for added texture and flavor!
Delicious Variations
- Chocolate Ganache Topping: For a decadent twist, top your cake with chocolate ganache instead of frosting.
- Oreo Cream Cheese Frosting: Substitute the marshmallow fluff frosting with a cream cheese frosting for a tangy flavor contrast.
- Layered Brownie Cake: Use brownie mix instead of cake mix for an even richer chocolate experience.
Frequently Asked Questions
-
Can I substitute the coffee in the recipe?
Yes! If you prefer not to use coffee, you may simply replace it with additional hot water, although coffee enhances the chocolate flavor. -
How do I prevent my cake from sticking to the pan?
Greasing and flouring the pans and using parchment paper will help in separating the cake without damage. -
Can I make this cake in advance?
Absolutely! You can prepare the cake layers ahead of time and freeze them. Just frost when ready to serve. -
What can I use instead of vegetable shortening?
You can substitute vegetable shortening with an equal amount of unsalted butter or a non-dairy margarine for a dairy-free option. -
Is there a way to make this cake gluten-free?
Yes, you can use a gluten-free all-purpose flour blend in place of regular flour for a gluten-free version of this cake.
Conclusion
The Easy Dreamy Oreo Cake is a delightful treat that effortlessly combines the rich flavors of chocolate and the beloved crunch of Oreos into a stunning dessert. Whether you’re serving it at a party or enjoying a slice at home, this cake is sure to bring smiles and satisfaction. Don’t hesitate—gather your ingredients and create this amazing cake that will have everyone asking for seconds! Happy baking!
Print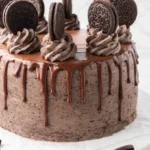
Easy Dreamy Oreo Cake
- Total Time: 55 minutes
- Yield: 12 servings 1x
- Diet: Vegetarian
Description
A delightful cake that captures the flavors of Oreos, rich chocolate, and fluffy marshmallow, perfect for any occasion.
Ingredients
- 3 cups all-purpose flour
- 2 cups granulated sugar
- 1/2 cup unsweetened dark cocoa powder
- 2 teaspoons baking soda
- 1 teaspoon salt
- 1 1/2 cups hot water
- 1/2 cup hot coffee
- 3/4 cup vegetable oil
- 2 tablespoons white vinegar
- 1 teaspoon vanilla extract
- 1/2 cup unsalted butter, softened
- 1/2 cup vegetable shortening
- 1 jar marshmallow fluff
- 3 cups powdered sugar
- 1/2 to 1 teaspoon salt (to taste)
- 1 to 2 tablespoons heavy whipping cream
- Crushed Oreos for layering
Instructions
- Preheat your oven to 350°F (175°C) and prepare two 8 to 9-inch cake pans.
- In a large bowl, whisk together flour, sugar, cocoa powder, baking soda, and salt.
- In another bowl, combine hot water, hot coffee, vegetable oil, vinegar, and vanilla extract.
- Mix the wet and dry ingredients until smooth, then divide between the prepared pans.
- Bake for 34 to 38 minutes or until a toothpick comes out clean. Cool in the pans.
- Beat together butter and shortening, then mix in marshmallow fluff. Gradually add powdered sugar, salt, and vanilla, beating until fluffy.
- Assemble the cake by layering frosting and crushed Oreos between cake layers and on top.
Notes
For best results, use room temperature ingredients and avoid overmixing. Chill cake layers before frosting.
- Prep Time: 20 minutes
- Cook Time: 35 minutes
- Category: Dessert
- Method: Baking
- Cuisine: American
Nutrition
- Serving Size: 1 serving
- Calories: 450
- Sugar: 38g
- Sodium: 258mg
- Fat: 21g
- Saturated Fat: 5g
- Unsaturated Fat: 16g
- Trans Fat: 0g
- Carbohydrates: 63g
- Fiber: 1g
- Protein: 3g
- Cholesterol: 30mg